Patio, Carport & Shed Setback Rules in Victoria
The biggest approval issues usually come down to where you place the structure on your block. We help clients design with the boundary, fire rules, and permit process in mind from the start.
The Simple Way to Think About It
Most approval problems are easier to avoid in the design stage than to fix later. The closer a patio, carport, shed, or verandah gets to a boundary, the more important it becomes to check the exact structure type, fire separation, and approval pathway before locking in the layout.
The guide below breaks this down by structure type and distance from the boundary, so you can see where a simple design usually becomes a more detailed permit question.
How Close Can Each Structure Usually Be to the Boundary?
These distances are useful design starting points for side and rear boundaries. The final answer still depends on the exact structure, height, length, openness, fire separation, easements, overlays, and whether Report and Consent is needed.
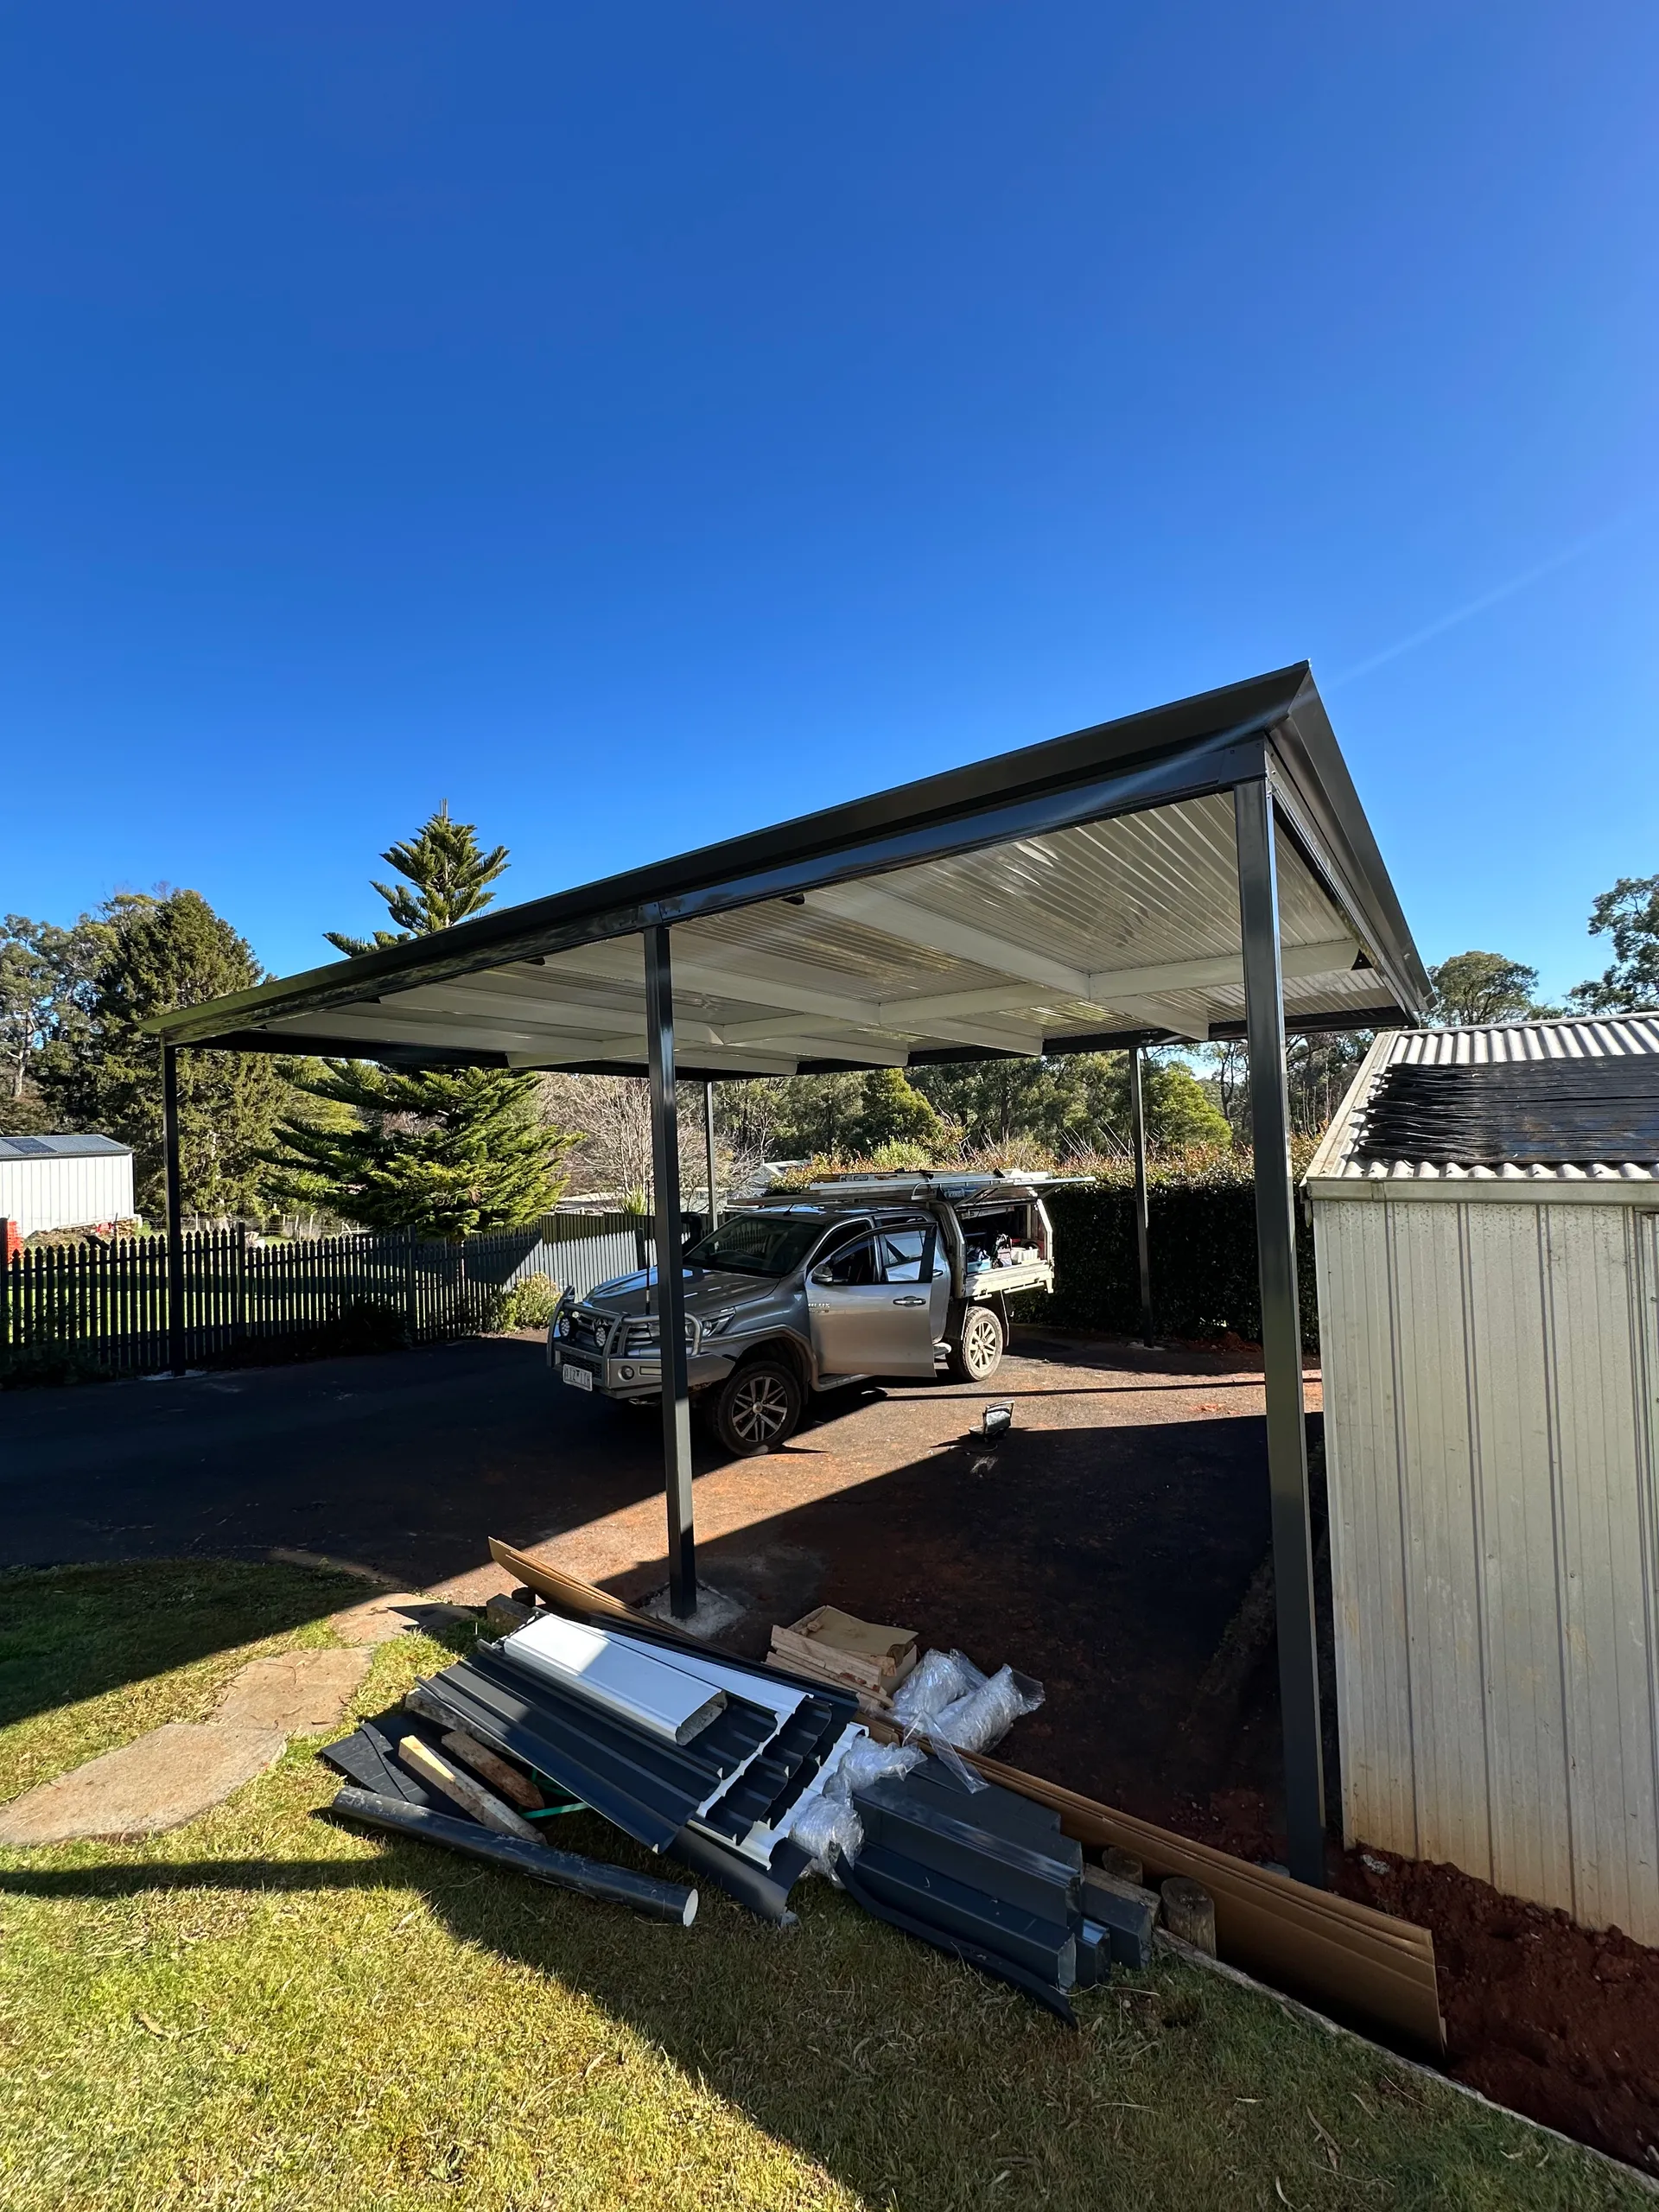
Patios & Verandahs
Start at 1 metre or more where possible. Roofed patios and verandahs may sometimes work between 501 mm and 999 mm from the boundary, but 500 mm or less usually needs extra assessment.
Patios & Verandahs
Start at 1 metre or more where possible. Roofed patios and verandahs may sometimes work between 501 mm and 999 mm from the boundary, but 500 mm or less usually needs extra assessment.
For most roofed patios and verandahs, 1 metre from the fence is the cleanest starting point. Designs can sometimes come closer, but the 500 mm line is important because the standard verandah encroachment allowance is generally exceeded once the structure is on or within 500 mm of the boundary.
Design note
Permanent walls, screens, or enclosure can change how the structure is assessed.
Carports
Carports can sometimes sit on or within 1 metre of a boundary if the boundary side stays open and the design meets the relevant height and length limits.
Carports
Carports can sometimes sit on or within 1 metre of a boundary if the boundary side stays open and the design meets the relevant height and length limits.
Carports have a more flexible pathway than many enclosed structures, but only when they are designed as open carports. If the side facing the boundary is enclosed, or the height and boundary length limits are exceeded, the design may need Report and Consent or redesign.
Design note
Keep the boundary side open unless the design has been checked against the relevant siting and fire requirements.
Sheds & Garages
Usually aim for 1 metre or more from the boundary, or design very close to the boundary, generally within 200 mm, under the boundary wall pathway.
Sheds & Garages
Usually aim for 1 metre or more from the boundary, or design very close to the boundary, generally within 200 mm, under the boundary wall pathway.
Enclosed sheds and garages are less forgiving than carports. They often work best either clearly away from the fence, or deliberately designed as a compliant boundary-wall style structure. The middle zone between 200 mm and 1 metre commonly creates approval problems because it may satisfy neither pathway.
Design note
This is the zone most likely to cause redesign, Report and Consent, or extra surveyor questions.
Pergolas
A true pergola is open-framed and can be treated differently from a roofed patio. A solid or weatherproof roof changes the assessment.
Pergolas
A true pergola is open-framed and can be treated differently from a roofed patio. A solid or weatherproof roof changes the assessment.
The word pergola gets used loosely, but the roof makes a big difference. If it has a solid roof, insulated roof sheet, or weatherproof covering, clients should think of it as a roofed patio or verandah for setback purposes, not as an open pergola.
Design note
Do not rely on pergola rules for a roofed outdoor area.
Patios & Verandahs
Start at 1 metre or more where possible. Roofed patios and verandahs may sometimes work between 501 mm and 999 mm from the boundary, but 500 mm or less usually needs extra assessment.
For most roofed patios and verandahs, 1 metre from the fence is the cleanest starting point. Designs can sometimes come closer, but the 500 mm line is important because the standard verandah encroachment allowance is generally exceeded once the structure is on or within 500 mm of the boundary.
Design note
Permanent walls, screens, or enclosure can change how the structure is assessed.
Carports
Carports can sometimes sit on or within 1 metre of a boundary if the boundary side stays open and the design meets the relevant height and length limits.
Carports have a more flexible pathway than many enclosed structures, but only when they are designed as open carports. If the side facing the boundary is enclosed, or the height and boundary length limits are exceeded, the design may need Report and Consent or redesign.
Design note
Keep the boundary side open unless the design has been checked against the relevant siting and fire requirements.
Sheds & Garages
Usually aim for 1 metre or more from the boundary, or design very close to the boundary, generally within 200 mm, under the boundary wall pathway.
Enclosed sheds and garages are less forgiving than carports. They often work best either clearly away from the fence, or deliberately designed as a compliant boundary-wall style structure. The middle zone between 200 mm and 1 metre commonly creates approval problems because it may satisfy neither pathway.
Design note
This is the zone most likely to cause redesign, Report and Consent, or extra surveyor questions.
Pergolas
A true pergola is open-framed and can be treated differently from a roofed patio. A solid or weatherproof roof changes the assessment.
The word pergola gets used loosely, but the roof makes a big difference. If it has a solid roof, insulated roof sheet, or weatherproof covering, clients should think of it as a roofed patio or verandah for setback purposes, not as an open pergola.
Design note
Do not rely on pergola rules for a roofed outdoor area.
Quick Distance Guide
Use these bands as a starting point before locking in the layout. They are not automatic approvals.
1 metre or more
Usually the simplest starting point for patios, verandahs, sheds, and garages.
501 mm to 999 mm
May be workable for roofed patios and verandahs, but the exact design needs checking.
200 mm to 999 mm
Often problematic for enclosed sheds and garages unless another approval path applies.
Within 200 mm
May be assessed as a boundary wall for enclosed structures, subject to height and length limits.
Within 900 mm
Can trigger separate fire separation checks even where the setback position looks acceptable.
Within 1.8 metres
Can also trigger fire separation checks when close to another building on the same property.
Other Approval Pitfalls to Avoid
Setbacks are only one part of the permit picture. These site and design details can still affect the approval pathway.
Title Restrictions
Easements, covenants, and building envelopes can limit where the structure goes, even when the setback position looks workable.
Planning Overlays
Heritage, flood, bushfire, and neighbourhood controls can create an extra approval layer before the building permit can move forward.
Wrong Structure Type
Changing from an open pergola to a roofed patio, or adding permanent screens, can change how the design is assessed.
Attached Structures
A patio attached to the home can raise different questions around the existing building, roof connection, drainage, and structural support.
Fire Separation
A design can satisfy the siting position but still need extra fire-related checks because of nearby boundaries or buildings.
Incomplete Documentation
Missing dimensions, site information, materials, or engineering details can slow down surveyor review even when the concept is sound.
Who Issues the Building Permit?
Building permits in Victoria are issued by a Registered Building Surveyor. Council may still be involved if extra planning or siting approvals are triggered.
Registered Building Surveyor (RBS)
A Registered Building Surveyor reviews the drawings and compliance documents, issues the building permit when satisfied, and carries out the required inspections during construction.
Council's Role
Council does not usually issue the building permit itself, but it may become involved where planning overlays, easements, or siting issues trigger extra approval steps.
Our Role as Your Builder
As your licensed builder DB-L 100314, we guide the design toward a practical approval pathway and use a specialist third-party permit service to manage drawings, documentation, lodgement, surveyor coordination, and final approval.
Client-Managed Permit Option
Prefer to manage the permit yourself? You can obtain your own permit through a building surveyor and appoint us as your registered builder to carry out the construction work.
What the Permit Process Usually Involves
Most of the work happens behind the scenes before approval is issued. We coordinate this as part of the project.
Typical Inclusions
- Site plan and drawings showing the layout, dimensions, and roof design
- Checks against boundary setbacks, easements, and planning controls
- Materials and structural information needed for approval
- Building surveyor review and any follow-up items required for the site
Typical Timeframes
Drawings & Permit Preparation
5–7 business days
Surveyor Review & Approval
5–15 business days
Total (Preparation + Approval)
3–5 weeks typical
Timeframes can extend if the design is close to a boundary, affected by planning controls, or needs extra approvals tied to the site.
Permit & Management Costs
For the patio projects we build, permit and management costs are typically $2,200. This covers coordination with a Registered Building Surveyor, documentation management, and seeing the permit through to approval. If the site or design triggers extra approvals or specialist fire input, those costs can sit outside this standard allowance.
Our Builder's License
Building permits are closely tied to your builder's license. To understand how our DBL-C license works, what scope it covers, the insurance obligations, and how contracts protect you, visit our licensed builder page.
View Licensed Builder PageStart Your Project
Ready to Talk About Your Project?
We'll confirm permit requirements, licensing scope, and insurance before work begins.